Electrical wiring might seem like a world of mystery to the untrained eye, but with a little knowledge and a healthy dose of caution, it’s something many beginners can approach confidently. Whether you’re upgrading a light fixture or adding an outlet, understanding the fundamentals of wiring will help you avoid mistakes and, more importantly, shocks! Here’s a breakdown of the basics to help you get started on the right track.
Understanding the Flow of Electricity
Before you pick up any tools, it’s helpful to understand how electricity flows. Think of it like water running through pipes. The wires are your “pipes,” and the electricity flows from one point (the power source) to another (where it’s used). Electricity travels in circuits, looping power between the source, switches, outlets, and appliances and eventually returning to the main electrical panel.
Three primary types of wires are involved in most standard home wiring projects. The hot wire, typically black or red, carries electrical current to the device. The neutral wire, usually white, completes the electric circuit by carrying the current back to the panel. Finally, the ground wire, generally green or left as bare copper, provides a safe path for excess electricity to flow and prevents shocks in case of short circuits.
Knowing which wire does what is crucial to understanding how to connect devices safely. Electrical systems also work on specific circuits, protected by circuit breakers that automatically cut off power when they sense a problem, like too much current flowing.
Whether you’re fixing a wall socket or troubleshooting a flickering light, this knowledge forms the backbone of every electrical project. From here, you can start to see how the pieces fit together, and that dark, mysterious junction box will feel a little less intimidating.
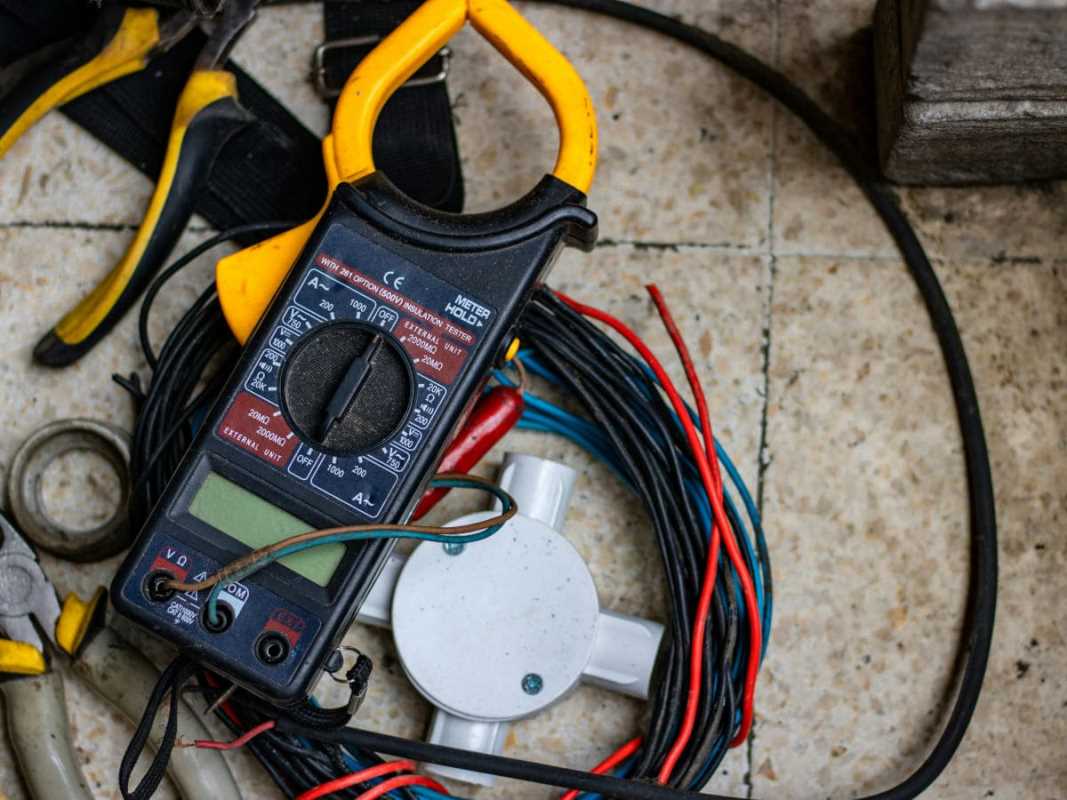
Gathering the Right Tools for the Job
Just like a chef has a knife and whisk, every home electrician needs a toolkit to handle wiring jobs. Having the proper tools not only makes your project safer but also way less frustrating when you’re dealing with stubborn wire connections or fiddly outlets.
First on the list is a voltage tester. This is your best friend for confirming whether or not electricity is flowing to a particular wire or outlet. No one wants surprises that involve sparks! A non-contact voltage tester is especially popular because it allows you to check wires without actually touching them.
You’ll also need tools for cutting and stripping wires, such as wire cutters and wire strippers. Combining these functions in one tool often makes life easier. Pliers, especially needle-nose pliers, help you bend and twist wires into position for secure connections.
A screwdriver set, including both flathead and Phillips-head options, is indispensable for installing outlets or switches. Finally, invest in electrical tape and wire nuts to ensure your connections stay snug and fully insulated from accidental contact.
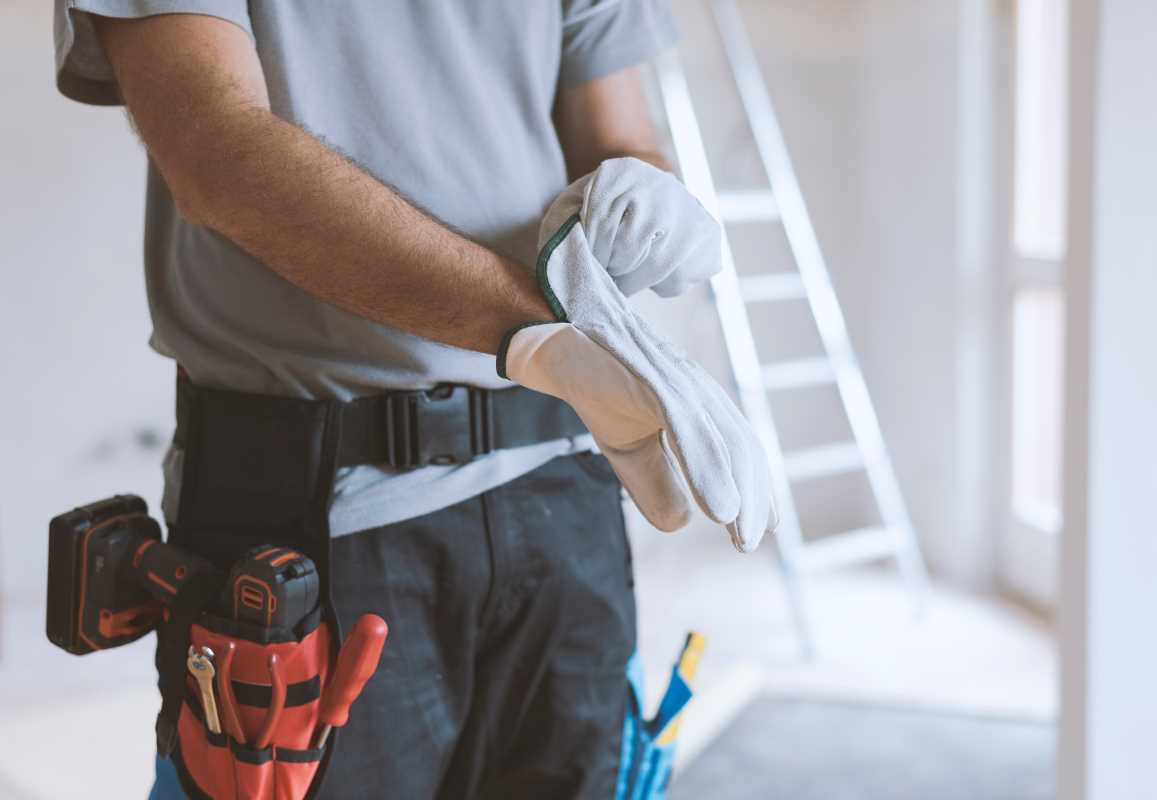
Staying Safe Around Electricity
There’s no sugarcoating it; electricity can be dangerous. But with caution and preparation, tackling basic wiring projects doesn’t have to leave you sweating like you’re defusing a bomb. Always keep safety at the forefront of your mind.
The golden rule of electrical work is simple but non-negotiable: turn off the power! Before you start poking around wires, locate your circuit breaker panel and switch off the breaker that controls the area you’ll be working on. Test every wire in the area with your voltage tester to confirm there’s no current. If you’re at all uncertain about which switch controls the circuit, turn off the main breaker. Better safe than sizzling!
Even after the power’s off, treat every wire with respect. Avoid working in damp conditions or with wet hands, as water increases the risk of shocks. And double-check that your tools are insulated and rated for electrical work.
Another key safety tip is knowing when to stop. If you’re in over your head or unsure about something, call in a certified electrician. While DIY has its merits, some situations really require professional training. It’s better to spend a little money on help than to risk your safety.
Lastly, organize your workspace. Cluttered tools and materials increase the chances of accidental injuries. Keeping things clean and orderly ensures you can focus fully on the task at hand without distractions.
Making Connections
Wiring something as seemingly simple as a light switch or outlet is all about making safe, secure connections. Loose or poorly done connections are one of the most common causes of electrical fires, so this step requires attention to detail.
Start by stripping the ends of your wires to expose about half an inch of metal. Be careful not to nick the wires since damaged areas can weaken the connection or create hotspots. Once stripped, twist the bare wire ends tightly so they don’t fray or spread apart.
When connecting wires, the color-coding helps keep things straightforward. Match black to black, white to white, and green (or bare copper) to the ground screw or wire. Often, devices like outlets and switches will have labeled screws to guide you, with “hot” for your black or red wire, “neutral” for white, and “ground” labeled or marked in green.
Securely attach wires with wire nuts, ensuring no exposed metal is sticking out beneath the cap. Give the caps a firm twist and a gentle tug to ensure they’re snug. After sealing connections, wrap them with electrical tape for extra insulation and security.
If installing a switch or outlet, carefully tuck all the wires back into the box before securing the device with screws. Avoid tightly cramming wires, as pinching them can lead to damage over time.
Testing and Troubleshooting
The final step of any wiring job is perhaps the most satisfying: making sure everything works as it should. Rest assured, testing your work is not only responsible but also a moment of celebration for a job well done.
Before flipping the breaker back on, double-check your work area to make sure tools are cleared away and wires are properly tucked into junction boxes or outlets. Once the power’s live, test your new installation with a voltage tester to confirm there’s power at the outlet or switch.
If you encounter problems, start with the basics. Loose wire nut? Misaligned connection? Even professionals occasionally miss small details, so don’t fret. Disconnect everything, review your wiring, and redo the connections if necessary.
For switches, make sure wires are securely attached to the correct terminals. And for outlets, check that the hot and neutral wires haven’t been mixed up or reversed. Persistent issues could indicate a larger problem elsewhere in the circuit, so don’t hesitate to consult someone with more experience.
Every successful test marks another step in your electrical confidence. Remember that building skills takes time and practice, so each project is an opportunity to learn something new.