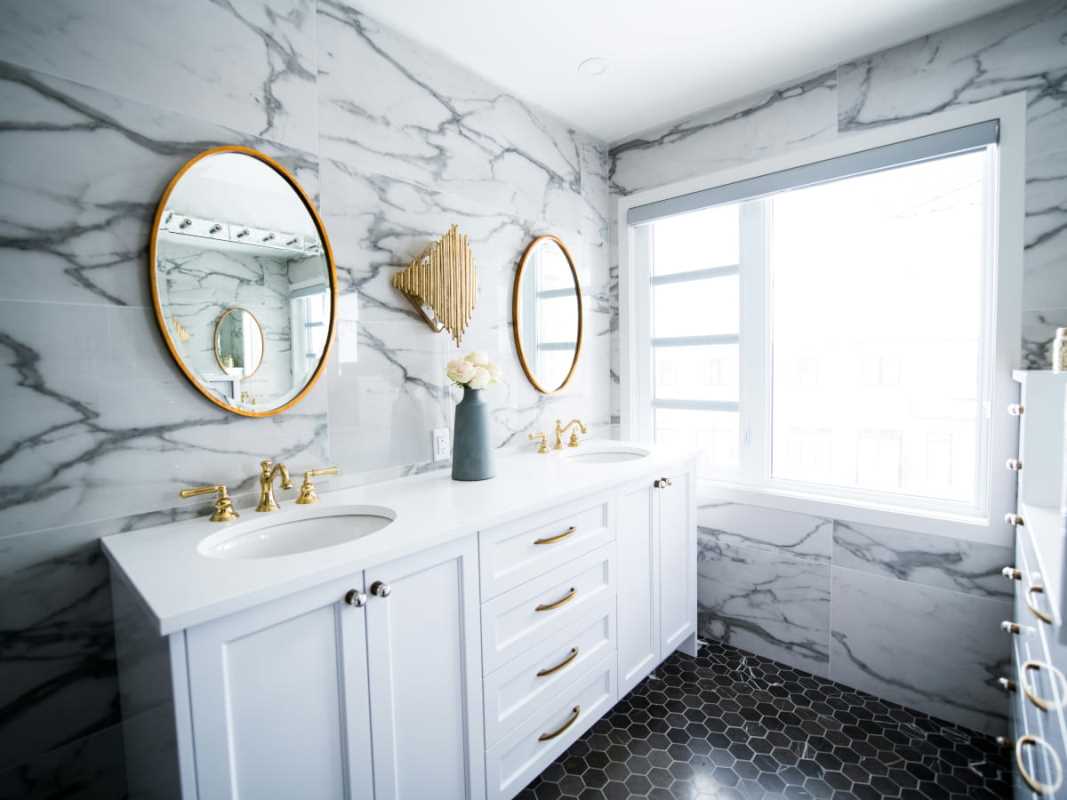
Transforming your bathroom with a new vanity is one of those projects that promises big returns on style without gutting your wallet or hijacking your weekend. Whether you're upgrading for aesthetics, functionality, or both, installing a vanity is a manageable DIY project with the right tools and a little patience.
Plus, nothing beats the satisfaction of admiring your hard work while brushing your teeth. This guide will walk you through every step to make sure your vanity installation is smooth and successful.
Preparing For the Project
First thing’s first, preparation is the key to a flawless vanity transformation. Before you even crack open the toolbox, make sure you have a clear plan and the equipment to execute it. Start by measuring your bathroom space and the spot where the vanity will live. Measuring twice is non-negotiable here because nobody wants to wrestle a too-big vanity through a too-small doorway.
Clear the area of clutter, and if your old vanity is still in place, you’ll need to remove it. Turn the water supply off (trust me, you don’t want an accidental indoor fountain), and then disconnect the plumbing. This usually means unscrewing the water supply lines and the P-trap beneath the sink. Keep a bucket handy to catch any lingering water.
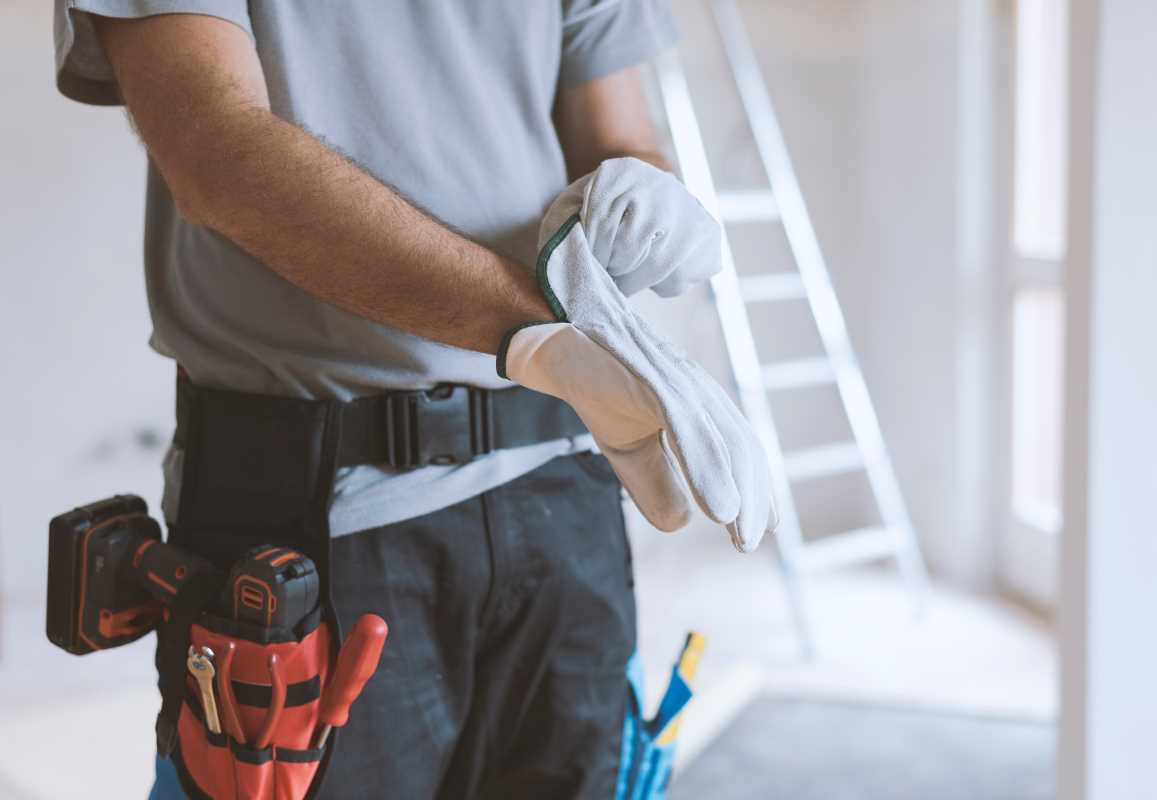
Gather your tools, which could include a wrench, tape measure, level, caulking gun, and maybe even a stud finder. Go ahead and confirm that the new vanity comes with all necessary hardware and instructions. If not, a quick trip to the hardware store is in your future.
Double-check the walls for any bumps, dips, or damage where your vanity will attach. Uneven surfaces can complicate the installation, so patching and sanding now can save you headaches later. A quick paint touch-up is also smart at this stage since the wall behind the old vanity might not match the rest of the room.
Preparation is your chance to set the tone for the entire project. The more carefully you plan, the smoother everything will go when you jump into actual installation.
Bringing The New Vanity into Place
Once your bathroom is prepped, it’s time to bring the star of the show into the spotlight. Moving your vanity into place can feel like maneuvering a very fancy piece of furniture, so enlist a helper if it’s heavy. Position the vanity against the wall, making sure it aligns with your plumbing connections and fits snugly into its new role.
This is where a level becomes your best friend. Even the most beautiful vanity will look like an amateur effort if it sits crooked or wobbly. Adjust as needed by shimming under the base until everything is perfectly even. Shims are those magical little wedges that solve uneven floor dramas without breaking a sweat. Trim off any protruding parts, so they don’t show once the vanity is in place.
Make sure to secure smaller vanities to the wall for stability. This usually involves screwing a vanity mounting bracket or directly anchoring the back of the unit to wall studs. A stud finder can help you locate the best spots, ensuring the vanity doesn’t decide to tip over at a future inconvenient moment.
For vanities with countertops and sinks already attached, make sure everything lines up properly. If you’re dealing with separate pieces, this is your moment to set the countertop in place and dry-fit it to check alignment. Take a good look to ensure the sink bowl is centered and plumbing connections will be happy.
Take a step back and admire your work so far. This part of the process is about ensuring the vanity looks flawless and sits securely before tackling the nitty-gritty plumbing details.
Connecting The Plumbing
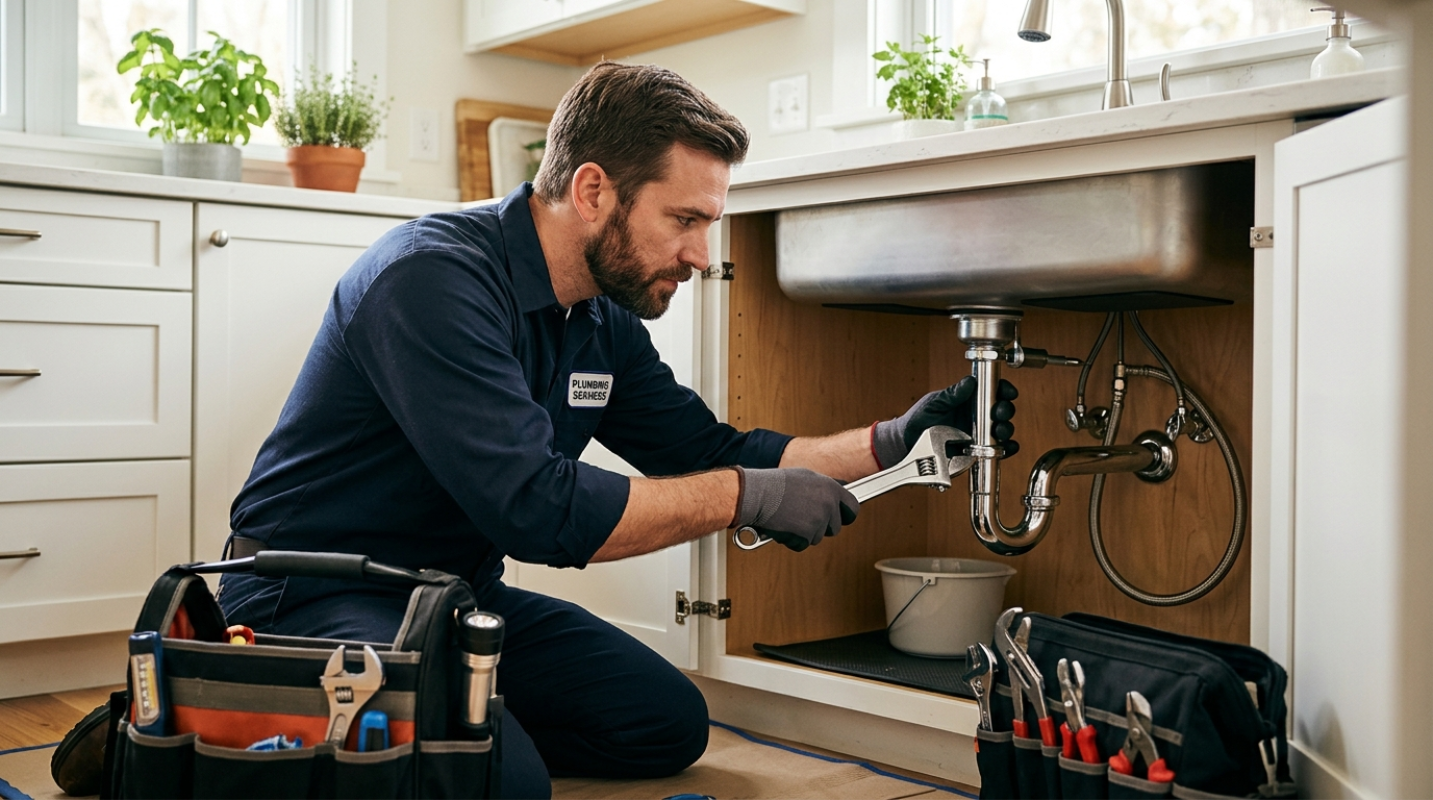
Now comes the part where it gets real. Reconnecting plumbing can seem intimidating, but once you break it down, it’s just a series of simple steps. Begin by dry-fitting the faucet and drain into your sink. Make sure everything feels snug and aligned before committing to tightening anything.
Follow the instructions provided with the faucet, applying plumber’s putty under the base for a watertight seal. Tighten the mounting nuts securely, but don’t overdo it, less is more when it comes to overtightening. Attach the water supply lines to the hot and cold valves at the base of the faucet.
Next up, tackle the sink drain assembly. Place the rubber gasket and flange according to the manufacturer’s instructions, securing everything snugly with the provided locking ring. The P-trap can be reconnected now, ensuring no leaks by tightening all joints. If yours is old or brittle, this is a good time to replace it.
Turn the water back on slowly and check for leaks. A flashlight and some patience will be your best tools here; even the tiniest drip is worth addressing now instead of waking up to a puddle the next day. Adjust and tighten connections as necessary until everything seals perfectly.
For vanities with integrated backsplashes, seal any gaps between the backsplash and wall using a bead of caulk. This not only looks clean but also prevents water from sneaking into places it shouldn’t.
Finishing Touches and Final Adjustments
With the plumbing and vanity installation taken care of, it’s time for the satisfying finish work that brings everything together. Start by carefully sealing all areas where moisture might sneak in. That includes edges where the vanity meets the wall, sink edges, and around the base if it sits flush with the floor. Use a high-quality waterproof caulk, smoothing it with a damp finger for a polished finish.
Add any hardware, including drawer pulls, cabinet handles, or additional brackets for open shelving. Whether your look is modern minimalism or classic farmhouse, this step allows you to personalize the vanity with decorative flair.
Check all moving parts like drawers, hinges, or sliding doors to ensure they operate smoothly. Adjust drawer tracks or hinge screws as needed to eliminate any wobbliness or uneven gaps. Sometimes, a little tweak makes all the difference in how your vanity functions day-to-day.
Clean up your workspace by wiping down the vanity and countertop to remove fingerprints, sawdust, or stray caulk. Admire your handiwork and snap a picture; there’s no judgment here if you want to show off your DIY victory.
This is also a good time to double-check the water pressure and drainage, ensuring no small issues have cropped up while you were focused on aesthetics. Satisfied? Then you’re officially done!
Tools And Tips to Keep Handy
No DIY project is complete without a few extra tips and tricks to make the process easier. Here’s a quick rundown of dos and don’ts for your bathroom vanity installation project.
- Keep a bucket and towels nearby for unexpected drips or spills.
- Always confirm your water is off before disconnecting any plumbing.
- Use painter’s tape to mark areas that need to stay clean during caulking or sealing.
- Test fit everything before securing connections to ensure proper placement.
- Make small plumbing adjustments gradually to avoid cracking fittings or gaskets.
With a little patience and these handy tools, you’ll be ready to tackle even the most finicky parts of your installation like a seasoned pro.
Owning Your DIY Success
Installing a bathroom vanity is the perfect mix of challenge and reward. You’ll not only enhance your bathroom’s look but also build skills along the way.
By following these simple steps, you’ve gained the know-how to confidently handle a project that makes a real difference in one of the most-used spaces in your home.