Cracked or broken shower tiles can feel like a personal betrayal. One day, your shower looks flawless, and the next, a single cracked tile throws off the entire vibe. But don’t panic! Repairing broken shower tiles yourself is not as intimidating as it sounds.
With a little patience, some simple tools, and this guide, you’ll have your shower back to its former glory in no time.
Gathering Your Supplies and Prepping the Space
Before you start swinging hammers or prying tiles, preparation is key. The last thing you want is to find yourself halfway through the repair only to realize you’re short on grout or wearing flip-flops instead of sturdy shoes.
First, gather your tools. Here’s what you’ll need for the job:
- Replacement tile(s) that match your existing ones
- Grout and grout sealer
- Tile adhesive or thinset mortar
- A grout float
- A putty knife or chisel
- A rubber mallet
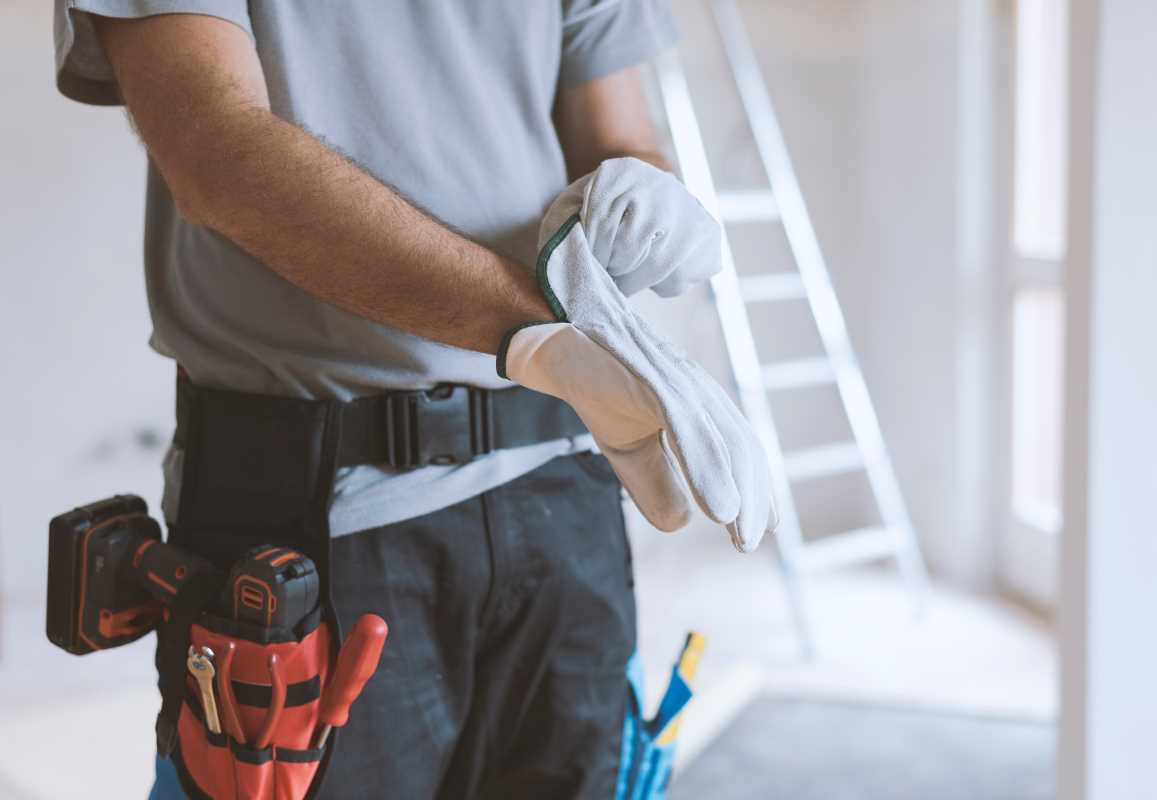
- Safety gear like safety glasses and gloves
Once you’ve got everything assembled, it’s time to prep the space. Remove any loose debris around the broken tile and clean the area. Use painter’s tape to protect surrounding tiles from accidental damage during your repair. Nobody wants to fix one tile and end up breaking another.
Finally, turn off the water to your shower. Even though you’re not working on the plumbing, you don’t need an accidental splash session ruining your hard work.
Removing The Broken Tile
Now for the satisfying part: getting rid of the broken tile. This might feel intimidating at first, but with a little care and precision, you’ll handle it like a pro.
Start by using your putty knife or chisel to scrape away the grout surrounding the damaged tile. Be gentle to avoid scratching or removing grout from other tiles. If the grout is particularly stubborn, a grout removal tool or a utility knife can help speed things along.
Once the tile is free from its grout borders, grab your rubber mallet and putty knife. Carefully, and I mean carefully, tap the knife under the tile to loosen it. If it’s shattered into pieces, you might need to pry it out bit by bit. Wear gloves here to protect your hands from sharp edges.
If some remnants of tile adhesive or thinset mortar are clinging to the wall, scrape them away. You want a smooth surface to ensure your replacement tile adheres properly. Pro tip? Take your time during this step. Patience truly pays off in the long run.
Before moving to the next phase, wipe down the exposed area. Dust and debris don’t play nice with tile adhesive, so the cleaner it is, the better.
Installing The Replacement Tile
With the damaged tile gone, it’s finally time to replace it. This is where your inner artist gets to shine. (Yes, successfully aligning tiles is a bona fide form of artistry.)
Start by applying a thin layer of tile adhesive or thinset mortar to the back of the new tile. Use a putty knife or a notched trowel to spread the adhesive evenly. Don’t go overboard, though. A little dab of adhesive goes a long way, and too much will make a mess when it smears around the edges.
Press the replacement tile into place carefully, lining it up with the others. Wiggle it gently to ensure it’s level and securely attached. If it’s slightly uneven, you can tap it with your rubber mallet to nudge it into line. Don’t underestimate the power of a perfectly straight tile.
Remember to leave a small gap for grout between the tiles. This tiny detail makes a huge difference when it comes to blending the new tile seamlessly with the rest.
Now, step away. Seriously, give the adhesive some time to set and cure as per the manufacturer’s instructions. Rushing this step can undo all your hard work.
Re-Grouting the Tile
Once the new tile is securely in place, it’s time to tackle the grout. This is where the magic happens that makes everything look cohesive and polished.
Start by mixing your grout if you’re working with powdered options. The consistency should be smooth and free of lumps, not too runny but not bone-dry either. Think peanut butter, but don’t eat it (please).
Use a grout float to spread the grout over the gaps, pressing it into the spaces around your new tile. Make sure you cover every nook and cranny to form a strong seal. Don’t be shy about applying a bit of pressure as you go.
After filling the gaps, wipe away the excess grout with a damp sponge. Work gently and in circular motions to avoid pulling grout out of the spaces. Wipe down the surrounding tiles as well, because grout tends to wander. It’s a messy little substance.
Allow the grout to set, following the time recommended on the package. Once it’s firm, give it a final wipe with a clean, damp sponge to remove any haze. Believe it or not, you’re almost done.
To finish it off, apply a grout sealer to protect your hard work from water damage and mildew. It’s like adding a shield to your new masterpiece.
Polishing Off the Project with Final Touches
With the messy parts of the repair done, you’re officially in the home stretch. It’s time to step back, admire your work, and handle the finishing touches.
First things first, inspect the repaired area. Check that the tile is level, the grout is even, and everything feels solid. Uneven grout lines can still be fixed at this stage with a little more attention and a grout float.
Once you’re satisfied, remove any painter’s tape and clean the surrounding area thoroughly so it sparkles like a showroom display. While you’re at it, you might as well give the entire shower a good scrubbing. After all, the new tile deserves a spotless environment to thrive in.
If you have some leftover grout haze lingering, don’t worry. You can remove this with a mix of water and vinegar or a specialized grout haze remover from the hardware store.
Finally, turn your shower’s water supply back on and revel in your success. The fact that you’ve repaired your tiles and saved yourself a hefty contractor bill deserves a pat on the back (or maybe a long, hot shower).
Tackling a broken shower tile may seem daunting at first, but with the right tools and steps, it’s a project you can absolutely handle on your own. From prepping the space to re-grouting with finesse, every step of this process brings you closer to a polished, like-new shower.
Plus, aside from the obvious financial savings, there’s something satisfying about solving home problems with your own two hands.


