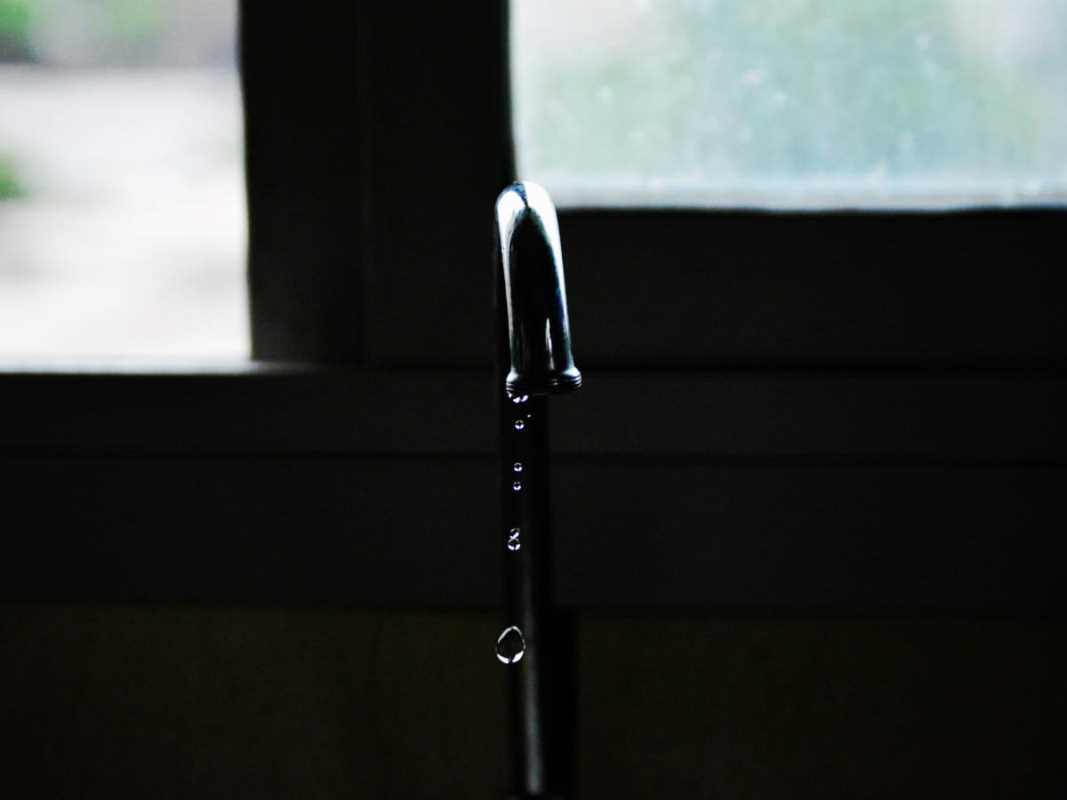
Leaky faucets or drippy pipes make themselves known in the most annoying ways. Maybe it’s the incessant drip…drip…drip that invades your peace or a water puddle making an unwelcome appearance under your sink. Don’t sweat it! Fixing leaks is often faster and easier than you’d think. Let's roll up our sleeves and tackle these pesky issues, step by step.
Dealing with a Leaky Faucet
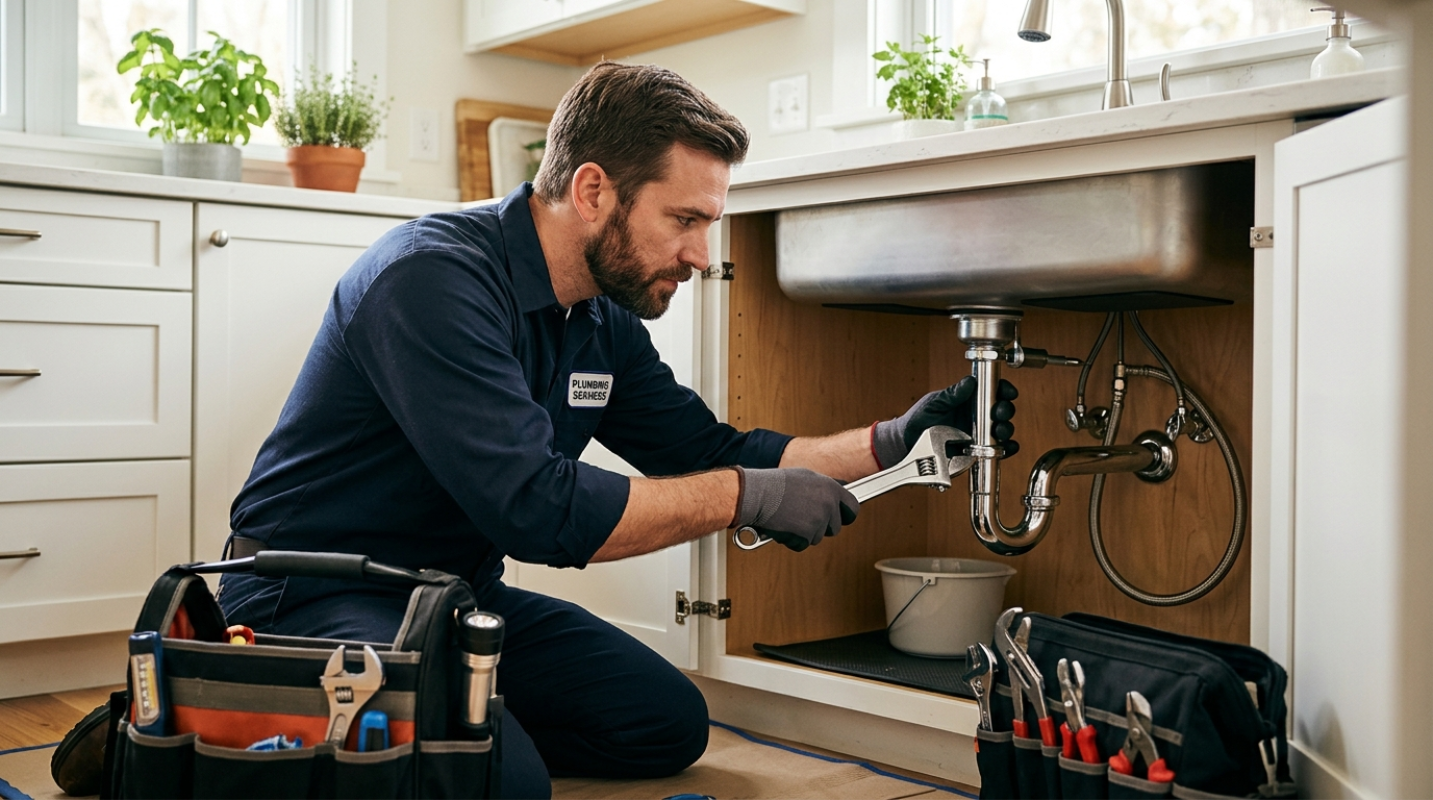
A faucet that won’t quit dripping is not just irritating, it also wastes gallons of water and increases your bill. Luckily, most leaks can be stopped with nothing more than a wrench, some patience, and maybe a washer. Start by turning off the water supply to your faucet. You don’t want water spraying everywhere like a backyard sprinkler.
Next, plug the drain to avoid losing small parts down the sink. See that little screw on the faucet handle? Pop off the cap and unscrew it carefully. Remove the handle to check for worn-out washers or seals. It’ll be obvious if these tiny parts are damaged; they might look cracked, misshapen, or just plain sad.
Replace any faulty washers or seals. Take the old one to a hardware store so you can match it perfectly. Once replaced, tighten up the parts, reassemble the faucet, and turn the water back on. If you’ve done it right, the drip should be gone. And the best part? You’ve saved both money and water, all in record time!
Fixing a Pipe Leak
Pipes can spring a leak for several reasons, ranging from loose joints to damage from wear and tear. First things first, locate the leak and turn off the water supply to that area. A little detective work might be necessary if the pipe is hidden under a sink or behind a cabinet. Once you’ve found the culprit, dry the pipe completely using a towel. You’ll need a clean, dry surface to fix the issue.
Many small leaks can be patched easily with plumber’s tape or a self-fusing silicone tape. Wrap it tightly around the damaged section, ensuring full coverage. Keep going until it’s sealed and give it a firm press to ensure it sticks properly. For extra peace of mind, check if the tape is water-resistant before wrapping it up.
If the leak is near a joint, applying plumber’s putty can also help. A pea-sized amount pressed into the gap can stop leaks effectively. Once you’ve patched things up, turn the water back on and test for any further problems. Feel around the pipe for moisture. If it’s completely dry, congrats, you’ve just conquered another household woe!
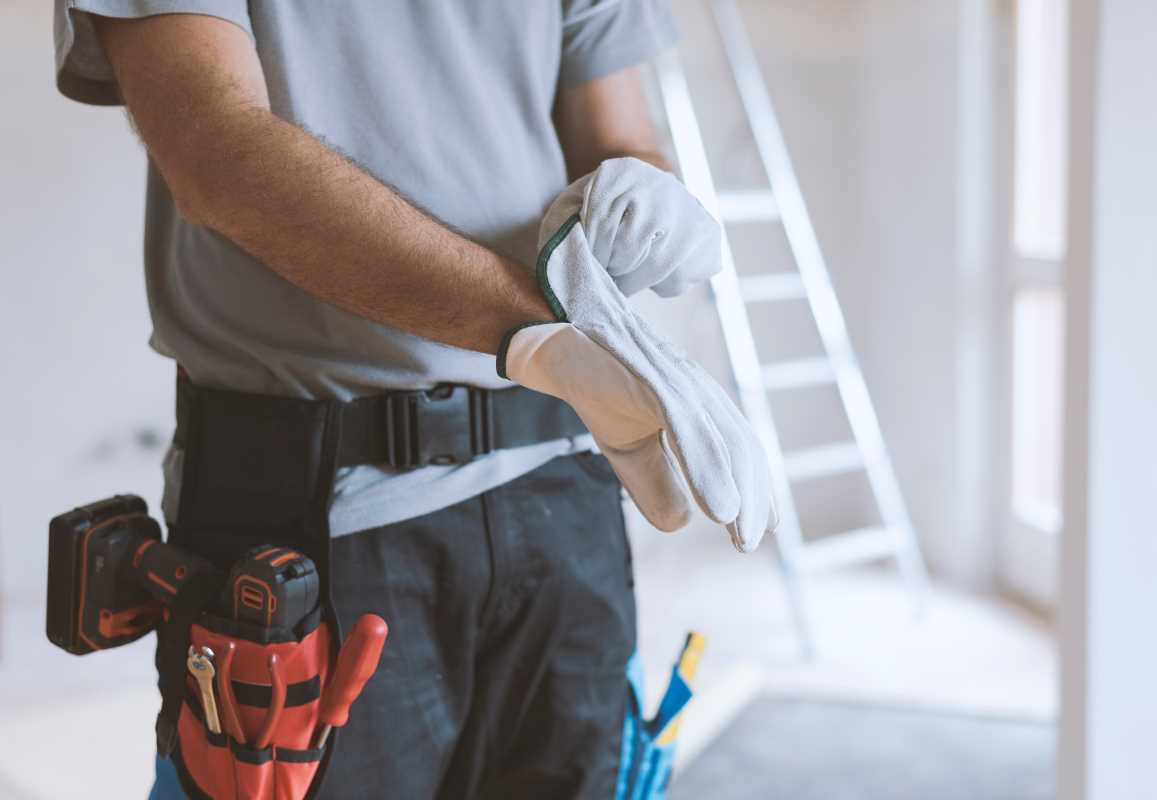
Having the Right Tools on Hand
Before any repairs, check whether your toolset is up to the task. Having the right equipment can save you time and frustration. A basic leak-fixing arsenal might include an adjustable wrench, plumber’s tape, a small flashlight, and even a rag for cleanup. Investing in a small plumbing toolkit is worth it if you want to avoid emergency hardware-store runs mid-fix.
A pipe wrench is a lifesaver when dealing with stubborn joints, while a pair of channel-lock pliers can grip awkward angles effortlessly. Plumber’s tape, also called Teflon tape, is another MVP. This magic roll can seal threaded connections, ensuring those old pipes don’t start dripping again a few days down the line.
For those extra-stubborn leaks, an epoxy putty stick can provide a waterproof seal that hardens fast. And don’t overlook rubber patches or hose clamps! These can temporarily stop leaks while you figure out a permanent solution. Keeping the right tools within arm’s reach sets you up for leak-fixing success.
Recognizing When the Leak Needs a Pro
Not all leaks are created equal. While many minor drips can be fixed in minutes with DIY know-how, some situations require calling in the pros. If your pipe bursts or the leak caused serious water damage, it’s best to avoid playing plumber. Ignoring major problems could escalate your repair costs down the road.
Another sign it may be time to call for help is a recurring leak. You’ve patched it once, maybe twice, but it keeps coming back like an unwelcome guest. Issues like this often point to a larger problem, like corrosion or outdated plumbing, which only a professional can diagnose properly.
Even if you’re confident in your do-it-yourself skills, don’t mess with gas lines or sewage connections. The risks are simply too high. And if you take on a repair but find yourself overwhelmed or puzzled halfway through, don’t hesitate to call a plumber. After all, admitting you need help is better than flooding your home in a DIY catastrophe!
Tips To Prevent Future Leaks
Once you’ve conquered your faucet and pipe leaks, the next step is preventing them from happening again. Regular maintenance can keep your plumbing in fighting shape and save you from surprise floods or water bills that make your jaw drop.
- Check water pressure. If it’s too high, it can strain your pipes over time. A pressure gauge can help you monitor it.
- Clean faucet aerators. Mineral buildup can make water flow uneven and wear down parts faster, so clean them out regularly.
- Avoid chemical drain cleaners. They may clear clogs for now, but they can corrode your pipes long term. Use natural solutions like vinegar and baking soda instead.
- Watch out for rust or discoloration. These can be early signs of weakened plumbing; catching them early minimizes damage.
- Insulate exposed pipes in winter to save them from freezing and bursting in cold snaps.
A little care goes a long way in preventing leaks. Regular checks and simple steps can help you avoid emergency repairs later on.
And there you have it! Fixing a faucet or pipe leak may not be the highlight of your week, but it doesn’t have to be a nightmare, either. A few simple tools, a little patience, and some basic know-how can make all the difference.
Follow these tips, and you’ll not only repair those leaks in no time but also feel like a home improvement hero while you’re at it. That dripping sound will soon be a thing of the past, leaving your home quieter, drier, and a bit more wallet friendly.