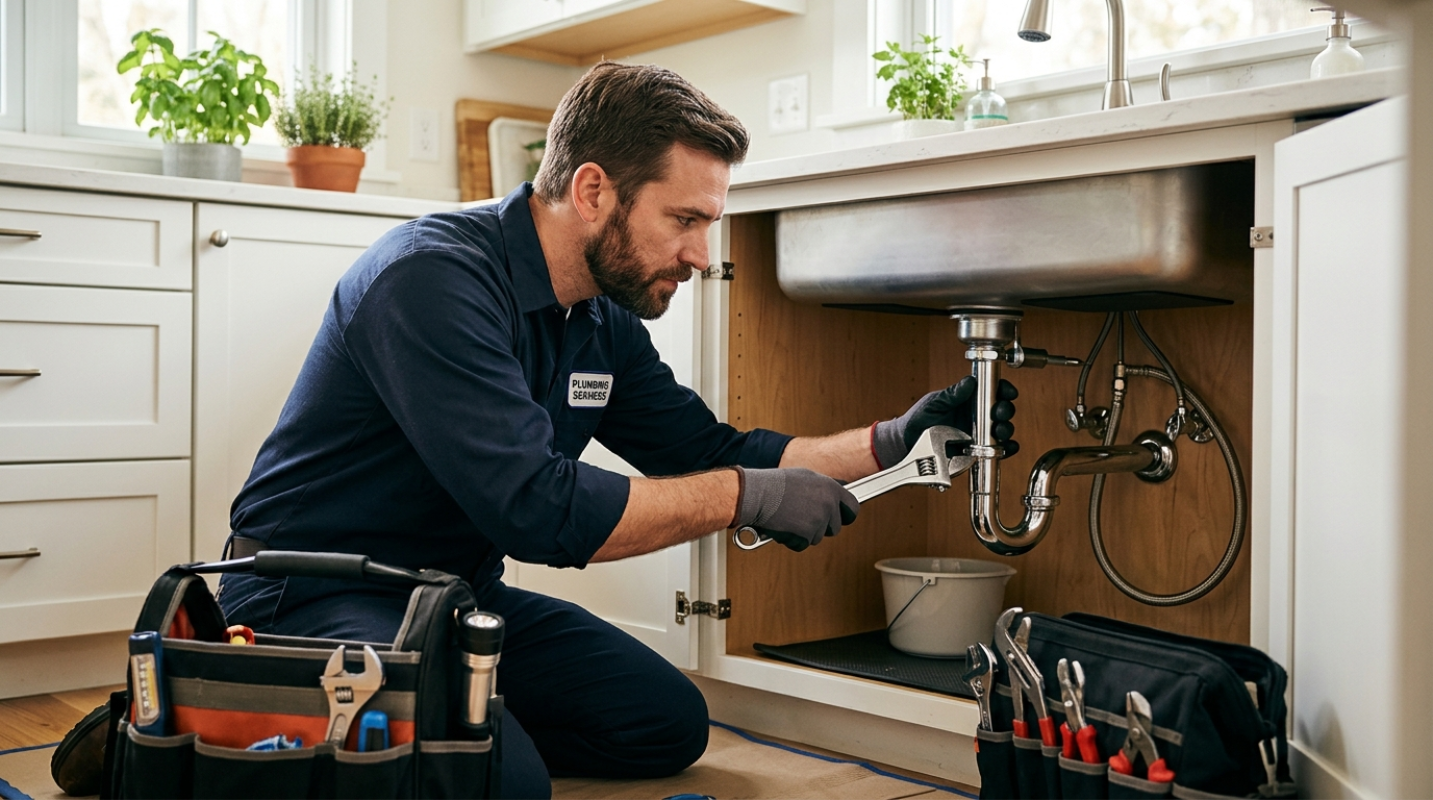
 (Image via
There’s a certain joy in giving a space a fresh look without breaking the bank or dedicating weeks to a renovation project. That’s why peel-and-stick tiles have become the DIY darling of home improvement enthusiasts everywhere. Whether you’re tackling a tired backsplash or transforming a bland bathroom floor, these versatile tiles offer a quick and easy way to level up your home’s style. However, as with any DIY project, there’s a method to the madness. From picking the right tiles to ensuring they stick (and stay stuck), this guide walks you through everything you need to know.
Choosing the Perfect Tile for Your Space
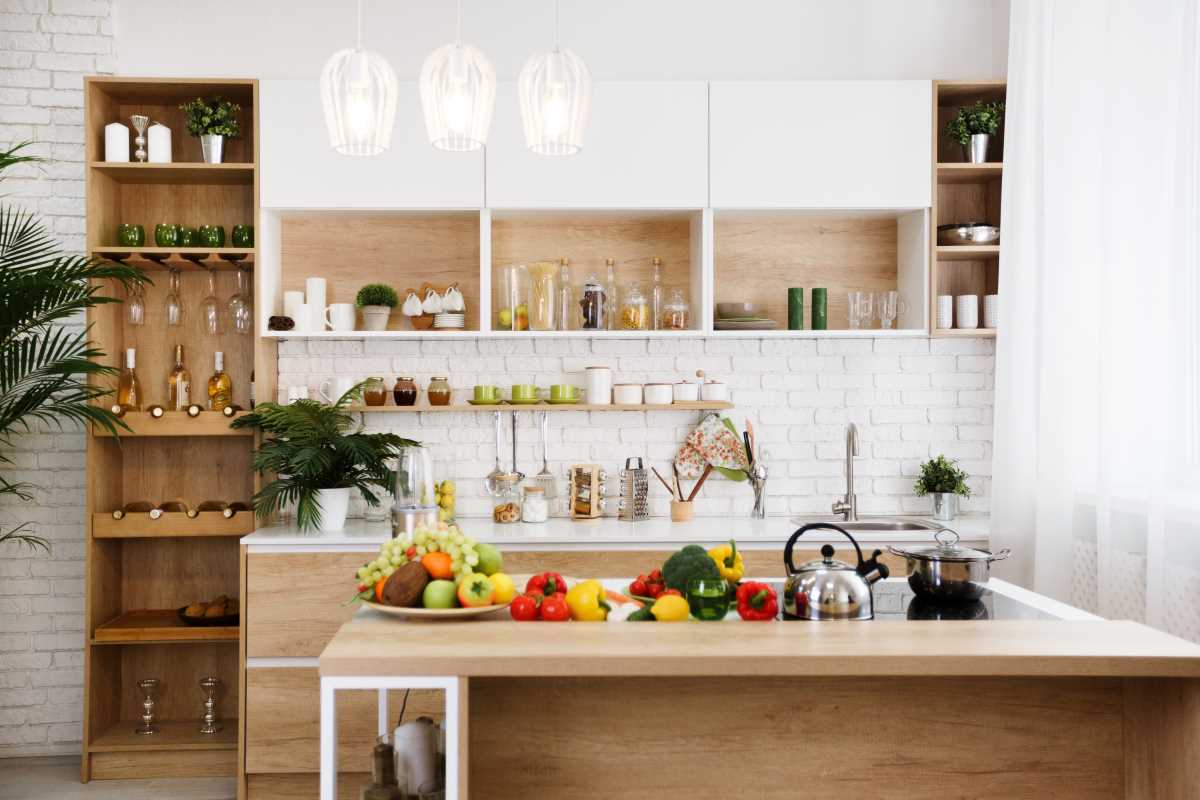
Before you start peeling and sticking, you need to figure out which tiles are best suited for your project. Peel-and-stick tiles come in a variety of materials, including vinyl, gel, metal, and even very thin stone. Each has its unique look, feel, and practicality, so consider the specific spot you’re upgrading. For high-moisture areas like bathrooms, vinyl or gel tiles are typically a better option since they’re water-resistant. Meanwhile, metal or stone tiles can elevate the look of a kitchen backsplash.
Pay attention to tile patterns, colors, and textures as well. The design you choose will set the tone for the entire space, and while trendy styles are tempting, you’ll want something that still feels timeless to avoid feeling like a home décor throwback too soon. Samples are your best friend here. Most peel-and-stick tile brands offer small sample pieces, so you can try them out before committing.
Also, don’t forget to measure your space. Sounds obvious, right? But underestimating or overestimating the number of tiles you’ll need is a classic rookie mistake. Measure each wall, corner, or floor area carefully and add a little extra for mistakes or cuts. Trust us, you’ll thank yourself when it’s 10 p.m. and you’re short two tiles.
Preparing Your Surface for Success
Prepping your surface might not be the most glamorous part of this project, but it’s where the magic really begins. Peel-and-stick tiles rely on a clean, smooth surface to do their thing. If your walls or floors are dusty, greasy, or uneven, those tiles could start peeling off faster than you can say “oops.”
Start by cleaning the area thoroughly with a mild detergent or degreaser. Kitchen backsplashes often harbor leftover cooking residue, while bathroom walls might have soap scum or moisture marks. Give the area a thorough rinse and allow it to dry fully. For the best results, you can use rubbing alcohol to ensure there’s no lingering grime.
Next, check the surface for bumps or cracks. If you’re working with walls, sand away any imperfections and fill holes with spackle, ensuring everything is smooth and flush. For floors, make sure no tiles are sticking up and that grout lines are filled or leveled.
Speaking of surfaces, not all are peel-and-stick friendly. Uneven textures like popcorn walls or unfinished wood can make it hard for tiles to adhere properly. If you’re dealing with a tricky surface, consider putting up a backing board, like a peel-and-stick primer sheet, which can help tiles stick like glue (well, because it kinda is glue).
The Art of Peeling and Sticking
Now that the prep work is done, it’s time for the fun part. But before you start pulling tiles off the sheets like stickers, it pays to slow down and plan your layout. A little patience here will save you from a wonky or mismatched look later. Measure twice, and start laying out your tiles without peeling off the backing first. This dry run will help you visualize the final pattern and spot any issues.
Work from the center outward or from a prominent focal point, like the edge of a counter or the middle of a wall. This approach makes the arrangement look more intentional and polished. Since walls and floors are often not perfectly straight, starting at an edge might leave you with awkward half-tiles in the most visible spots.
When you’re ready to adhere, peel the backing slowly and evenly. Avoid touching the adhesive side with your fingers too much, as this can weaken the stickiness. Press the tile firmly into place, starting from the middle and working outward to eliminate air bubbles. If bubbles persist, use a credit card or a roller to smooth them out.
If you need to trim tiles to fit corners or edges, a utility knife or a pair of heavy-duty scissors should do the trick. A cutting mat or a straight edge is invaluable for keeping lines clean.
Common Pitfalls and How to Avoid Them
Every DIY project comes with its hiccups, and peel-and-stick tiles are no exception. But with a little know-how, you can dodge most of the classic mistakes before they happen. For starters, not all peel-and-stick tiles are created equal. Quality matters. Cheaper tiles tend to be thinner or have weaker adhesives, meaning they’re more likely to peel over time.
Another common misstep is skipping the acclimation phase. Much like hardwood flooring, peel-and-stick tiles need to adapt to the room’s temperature and humidity for a day or two before installation. This helps prevent warping or shifting after they’re installed.
Overlapping tiles or stretching them is another no-no. It’s tempting to try to fudge things a bit when tiles don’t line up perfectly, but this can lead to gaps or peeling. If a tile doesn’t fit quite right, trim it instead of forcing it.
Lastly, don’t rely on the adhesive alone in particularly challenging spots. For areas like the corners of a backsplash or a high-traffic floor, consider adding some extra adhesive like construction glue to make sure everything stays put for the long haul.
Common issues to watch out for:
- Bubbles under tiles that aren’t smoothed out
- Mismatched patterns due to poor alignment
- Peeling edges from insufficient prep
- Low-quality tiles that fade or thin out
- Uneven cutting leading to unsightly gaps
Enjoying and Maintaining the Results
Once your tiles are in place, step back and marvel at your transformation. It’s pretty amazing how such a simple project can change the entire vibe of a room. That said, to keep your tiles looking as fresh as the day you installed them, a little maintenance goes a long way.
For most peel-and-stick tiles, a gentle cleaning routine is all that’s needed. Wipe them down with a damp cloth and a mild cleaner to avoid damaging their surface or loosening the adhesive. Avoid abrasive scrubbing pads that might scratch or peel the finish.
If any edges start lifting, don’t worry. A dab of extra adhesive and firm pressure for a few minutes can fix things with minimal effort. And while peel-and-stick tiles are durable, they’re not indestructible. Avoid dragging heavy furniture across tiled floors or placing extremely hot items directly on tiled counters.
Finally, if the day comes when you’re ready for a change, most peel-and-stick tiles are removable. A hairdryer can soften the adhesive, making it easier to peel them off. Just be prepared for a little residue cleanup afterward.