 (Image via
Mold. The word alone can send a chill down a homeowner’s spine, conjuring up visions of dark, damp corners and questionable odors. But don’t worry; mold isn’t here to ruin your life (though it can try). With the right tools, a bit of elbow grease, and some safety know-how, you can evict this unwelcome guest for good. Here’s a helpful guide to tackling that pesky mold safely and effectively.
Identifying Trouble Spots
The first step in the fight against mold is knowing where it likes to hang out. Spoiler alert: mold is a fan of moisture. Bathrooms, basements, kitchens, and areas with water damage are prime real estate for those sneaky spores. But don’t be fooled into thinking it only exists in the obvious places. Mold can also hide behind wallpaper, under carpets, or inside HVAC systems.
It’s essential to take some time to inspect your home thoroughly. Look for discolored patches on walls or ceilings, or sniff around for that telltale musty smell. Mold comes in many hues, including green, black, and even white. Sometimes it’s fuzzy, other times slimy. Whichever variety you find, it’s probably not your new favorite décor piece.
Small areas of surface mold can usually be handled easily, but don’t ignore the signs of larger infestations, like significant stains or clear evidence of water damage. If mold has made itself comfy in your drywall or flooring, it may be time to call the pros.
Knowing the enemy is key. Identifying the type of mold can help you choose the best way to remove it and prevent it from returning. Some molds, like toxic black mold (Stachybotrys chartarum), require extra caution, so staying informed is half the battle.
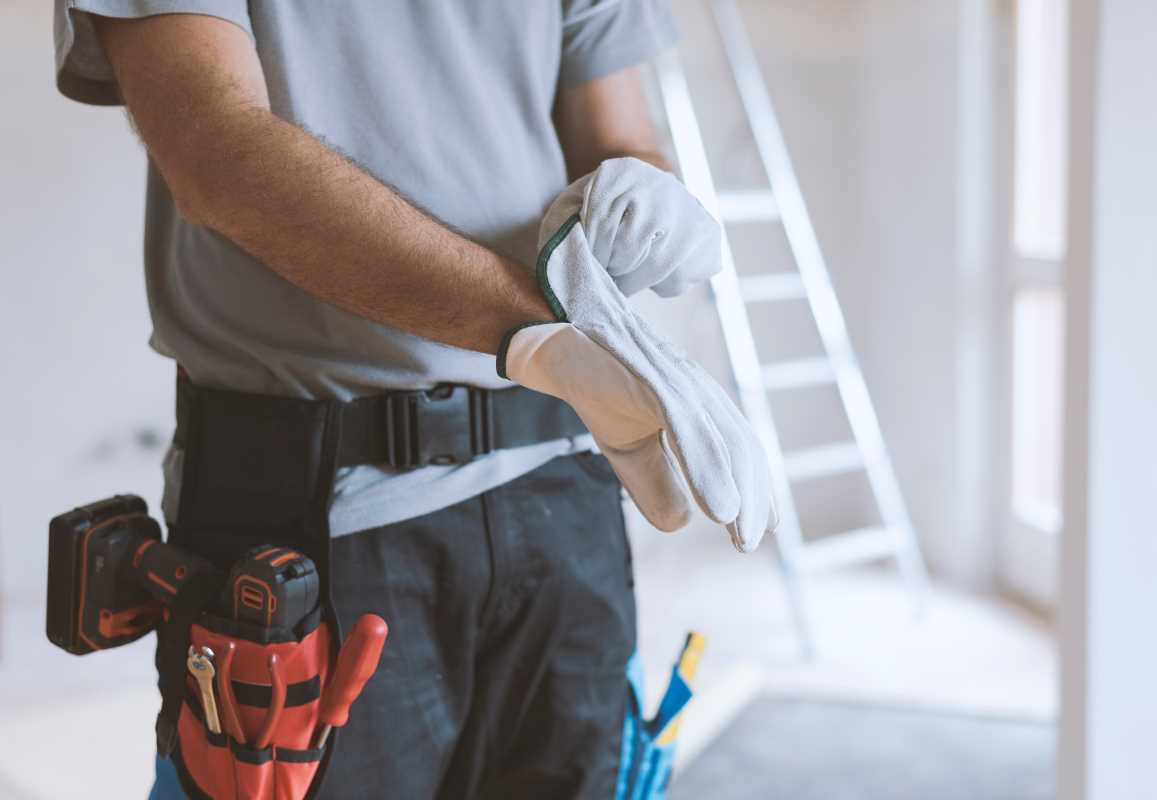
Suiting Up for Safety
Before you roll up your sleeves and get scrubbing, it’s crucial to protect yourself first. Dealing with mold can stir up harmful spores that are bad for your respiratory system, skin, and eyes. You don’t want a cleaning session to turn into a health hazard, so take a few extra minutes to dress the part.
Start with a good quality mask or respirator. A simple dust mask won’t cut it here; you’ll need one labeled N95 or P100 to effectively block out tiny mold particles. Safety goggles and gloves are non-negotiable, too. Opt for long rubber gloves to avoid direct contact with mold or spray solutions.
Wear old, long-sleeved clothes that you can wash right after the job is done. The last thing you want is mold spores hitching a ride on your favorite hoodie. Covering your hair with a scarf or cap is also a smart move if it’s particularly messy work.
Proper ventilation in the work area is another must. Open windows and use fans to direct airflow outward. Mold spores are notorious floaters, so keeping the air moving in the right direction can prevent them from settling elsewhere in your home.
Finally, keep any uninvolved family members, especially kids and pets, out of the room while you work. Mold removal isn’t a team sport, and limiting exposure is key to keeping everyone safe.
Choosing the Right Cleaning Supplies
Not all cleaning products are created equal, especially when it comes to mold. While bleach is often touted as a go-to, it’s actually not the most effective option for porous surfaces like wood or drywall. Bleach kills surface mold but doesn’t address the roots, meaning it can potentially come back.
For smaller mold problems, white vinegar is a superstar. It’s safe to use, eco-friendly, and effective against many types of mold. Simply spray it directly on the affected area, leave it for an hour, and then scrub and wipe clean. Another handy item to have on hand is hydrogen peroxide, which works well for deeper cleanups.
Baking soda is another household hero. Mix it with water to create a mild abrasive paste that doubles as a mold remover and deodorizer. Tea tree oil, while pricier, is a natural antifungal option that packs a punch.
For larger mold jobs, you may need a commercial-grade mold cleaner. Look for products specifically labeled for mold and mildew removal. Keep in mind that some of these cleaners contain chemicals, so follow all instructions carefully and use them in well-ventilated areas.
Scrubbing Down and Spot-Cleaning
Now that you’re geared up and armed with cleaning supplies, it’s time to tackle the mold head-on. If you’re dealing with mold on non-porous surfaces like glass, tiles, or countertops, removal is relatively straightforward. Spray your chosen cleaner directly onto the affected area, scrub with a brush, and wipe away the residue.
Porous surfaces, however, need extra care. For moldy drywall, it’s best to cut out and replace the damaged section, especially if the infiltration runs deep. Similarly, mold in carpets often requires removal and replacement, as it’s tough to clean an entire carpet’s fibers effectively.
Pay attention to corners, edges, and crevices where mold loves to hide. Toothbrushes or small detail brushes can work wonders in reaching tight spots. Scrub gently, especially on fragile surfaces, to avoid causing further damage.
Once the mold is removed, clean the area with warm, soapy water to remove any leftover residue. This step is vital for breaking the mold’s lifeline and discouraging it from making an encore appearance.
Keep your work area contained by wrapping up moldy materials in plastic bags as you remove them. This extra step prevents spore spread during cleanup and keeps your workspace tidy.
Keeping it Dry to Mold-Proof Your Home
One of the most crucial parts of mold removal is making sure it doesn’t come back. Remember, mold thrives on moisture, so keeping things dry is your secret weapon. Fix leaky pipes, patch up dripping roofs, and double-check seals around bathtubs or sinks.
Use a dehumidifier in damp spaces like basements or bathrooms to maintain lower humidity levels. Aim for a sweet spot of around 30-50% humidity to make your home less inviting for mold. Regularly check on hidden areas like crawl spaces or attics; catching a moisture problem early can prevent a massive headache later.
Regular vacuuming and dusting also help remove lingering mold spores and other allergens. Make it a habit to ventilate rooms after baths, showers, or cooking sessions to reduce humidity buildup. Exhaust fans are fantastic allies in keeping air circulating and drying out surfaces.
For a long-term solution, consider mold-resistant paints and primers for walls prone to dampness. These products act as an extra barrier to stop spores from settling in areas like the bathroom or laundry room.
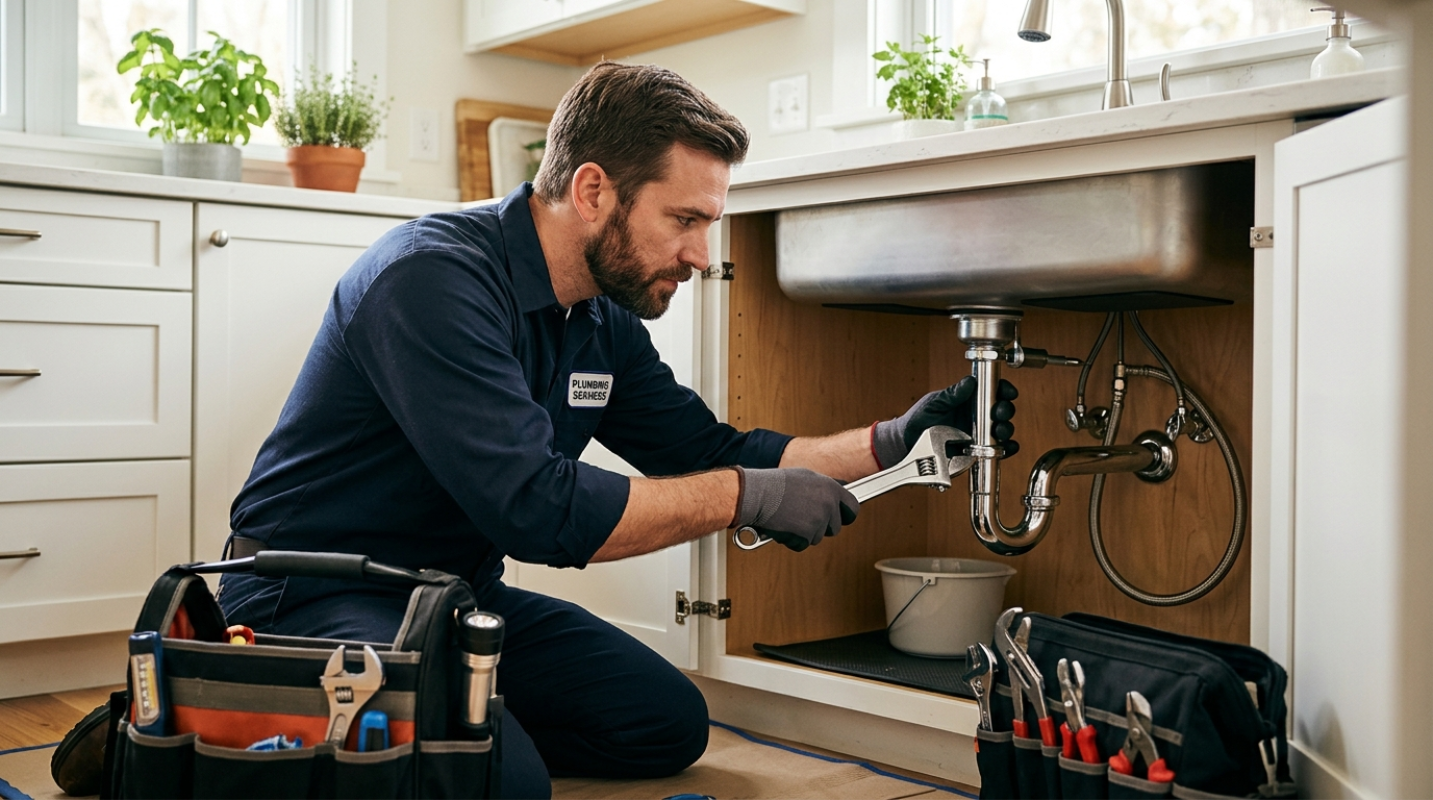
When to Call in the Professionals
DIY methods are fantastic for small to medium mold issues, but there are times when you’ll want to bring in the experts. Extensive infestations, toxic black mold, or cases where the mold affects structural components of your home might be beyond a quick scrub.
Professional mold remediation teams have tools like high-efficiency particulate air (HEPA) vacuums and commercial-grade treatments to ensure the job is thorough and safe. If you’re dealing with stubborn mold growth in places like ducts, insulation, or subflooring, professional help is worth the investment.
Mold might be a formidable foe, but with a safe, proactive approach, you can banish it from your home like a pro. The key is persistence, thoughtful maintenance, and knowing when to ask for backup. Armed with these tips, you’re well on your way to a mold-free, healthier living space.